In this post, we’ll be discussing how to add various media to blog posts on WordPress, specifically focusing on embedding images and videos. Adding images and videos to posts can add to the sophistication of a blog, and there are several tricks you can use to make them aesthetically flow into a post.
Let’s start with images:
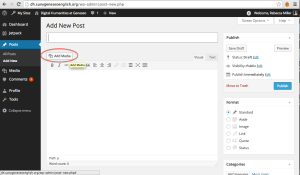
If you’re posting on the blog and not the forum option, begin by going to the top of the screen on your blog homepage, and selecting “+ New” and scrolling down to select “Post.” This will take you to a page that looks like the screenshot below. Select the “Add Media” button circled in red.
Next, your first option is to drag your desired image anywhere onto the page under either the “Upload Files” or Media Library” tabs. The image will automatically be uploaded. Or, under the “Upload Files” tab you can search for files under on your computer. If you want to insert the image via URL, choose the “Insert from URL” option on the left hand side of the page. Also use the options on the left if the image you want to imbed is a tweet.
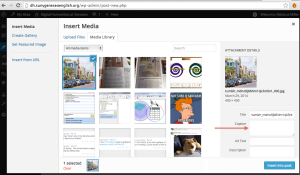
Once your image is uploaded, to the right of the page you’ll see a column titled, “Attachment Details.” This is where you can really customize your image. For example, by typing into the box labeled “Caption” indicated by the red arrow in the image below, you can add what will appear as a small caption below your image in the published post.
 In addition, you can make the text wrap around the image by changing the alignment. If you align the image to the left, the text will wrap around the right of the image, etc. This makes images really flow into your post without being choppy.
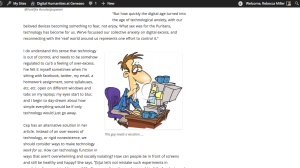
 An image aligned to the right with a caption appears like this:
Now, if you’re trying to post an image in a forum discussion, it’s very simple and much the same. Simply scroll to the bottom of the conversation page and type in the “Reply To:” Box. To post an image click on the button with the music note and camera. You must type in an image url to upload it, but image alignment works the same way. You can also customize the size of the image.


